SEVEN | Decorating Notebook Cover Page 1

Decorate the color cover that will be the "face" of your notebook! We will introduce the steps.

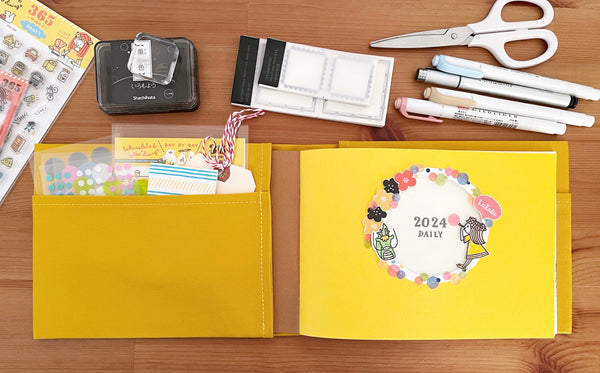
1 | Draw a rough outline of the shape you want to cut out on the colored cover of the notebook. This time, I used the lid of a round container that was just the right size.

2 | Cut along the line drawn in step 1. Although it is not visible in the picture, the cut part is covered with tracing paper. Cut a circle a little larger than the original, I pasted it on the front of the color cover . To hide the area where the tracing paper was glued, I added a border made of patterned paper.

3 | Cut out patterns from patterned paper or stamped and painted patterns to create decorative parts.

4 | I stamped the number "2024" on the next page of the notebook's color cover. This is the circular cut-out part of the color cover.

5 | Fill in the notebook evenly using the decoration parts and stickers made in step 3. This notebook will be used for daily memory keeping in 2024, so I stamped it with the characters for "2024" and "Dragon."

It might be a little scary to cut off the cover of your notebook, but I'm sure you'll be glad you took the plunge! You'll grow to love your one-of-a-kind notebook even more.
